Friday, 7 November 2014

A little spot of Bokeh

You  know when you see a  new crafting technique and just have to work out how it's done and make it?

That's how it was for me with the Bokeh technique. The best part of this project is that it was EASY! Yay! I can be a bit of a lazy crafter and prefer things that aren't too long winded.

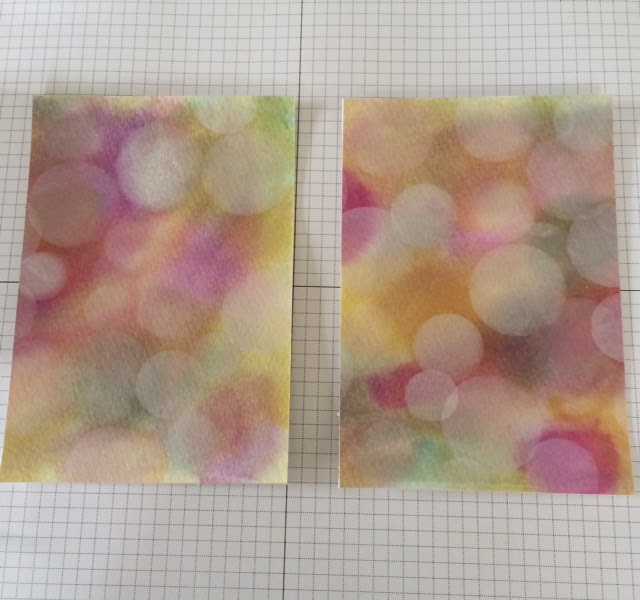
So here it is, my first (of many) Bokeh cards.


Did I mention that this is easy??

Start of with Watercolor Paper secured with masking tape to piece of cardboard.
Wet paper thoroughly
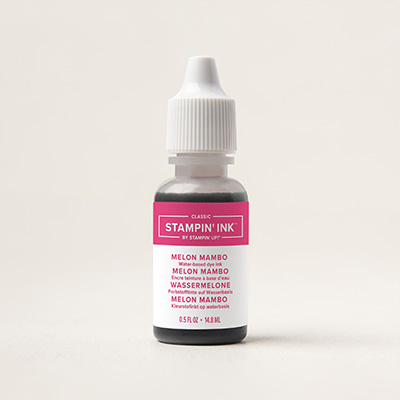
Choose your ink pads (2 or 3)Squeeze the pad leaving colour in the lid and use that as your palette and apply colour with an Aqua Painter Let the colours merge together. I used Blackberry Bliss, Lost Lagoon and Hello Honey.
Leave to dry completely.


I used a full sheet so that I could get 2 cards out of it.


Make a mask using Window sheet  and cut at least 3 sizes of holes using punches or circle dies.


Use Sponge Daubers  to apply white ink. I used Stazon to cut down on drying time!

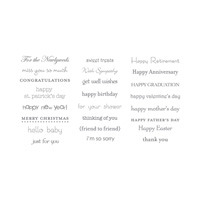
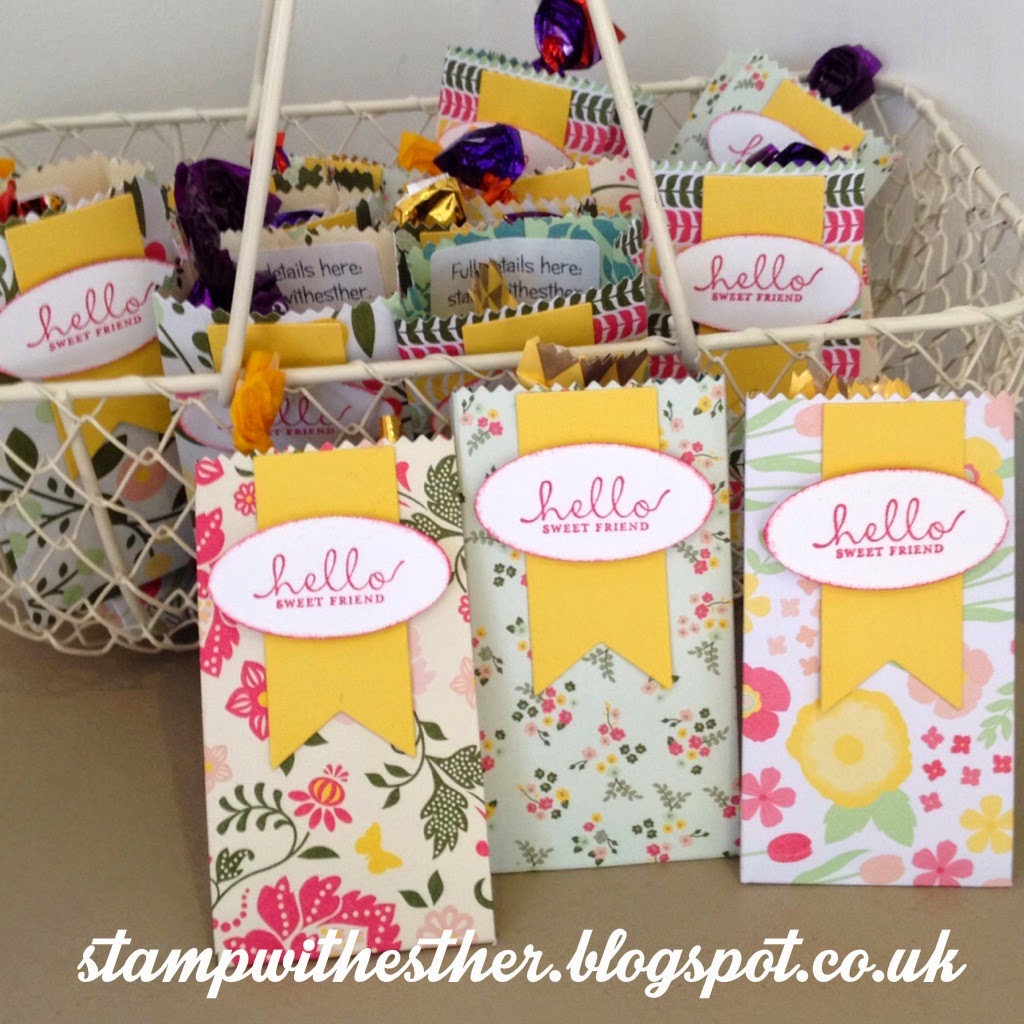
The sentiment is from Kinda Eclectic and stamped on to a piece of whisper white card cut with a  Deco Labels framelit. The project was finished off with a Bitty Butterfly and a rhinestones Of course!


I'd love to know what you think and hope you  give it a try! 

Esther xx


Wednesday, 22 October 2014

Memories of Brussels, Stampin' Up! style

Hi all

Last week was a very special week indeed, I had the privilege of attending the Stampin' Up! European convention in Brussels!

It was an amazing few days of chatting and sharing ideas with demo's from all over Europe, fabulous demonstrations, business advice and even an awards night complete with after party! I was delighted to win a recruiting award so thank you if you're a member of my team and helped make that happen.


The swap I made


My gift to my team


Check out all the highlight here.

If you'd like to be a part of all this fun next year AND receive a heap of other benefits then why not join my team of friendly demonstrators.
Plus there's as extra reason to sign up by 24 October:


You will receive a FREE pack of designer series paper every month (starting November) for 6 months as an additional benefit to the already very generous starter kit.


or feel free to contact me by phone or email.


Esther xx

Saturday, 4 October 2014

Happy world card making day!

Hi all

Well if you ask me, everyday should be a card making or any kind of craft day!

What better way to celebrate than with money off more craft stash, it makes perfect sense right? That's why we love Stampin' Up! because here you go, lots of lovely basics at discounted prices to celebrate in style, but hurry the offers end Monday 6 October. 15% off selected paper, envelopes, inks and adhesives and 20% off selected stamps.


To order or check out other items in my online store, news and offers, click here.

Esther xx

Sunday, 7 September 2014

Training day - swaps

Hi all

I had the privilege of spending a lovely day crafting with my my wider Stampin' Up! team this weekend. Organised by my fab upline, Fiona and another very talented demo who runs her own successful team, Pip.

It's customary for demo's to  exchange 'swaps' and I received some very beautiful projects which will serve as inspiration to me and my customers.

This was my swap.


I love the bright colours of the All Abloom dsp stack and I popped chocolates inside too!

This design was shown to demo's in America at their catalogue launch and I used the dimensions provided by BJ's Stampin' Spot here.

All Abloom dsp
Banners framelits
Large oval punch
Strawberry Slush Stampin' pad
Daffodil Delight & Whisper White cardstock
Finishing Touches Edgelits
Stamping Sponges
Six-Sided Sampler Stamp Set

Esther xx


Thursday, 4 September 2014

Weekly Deals - 3 September 2014

Hello all

The school holidays are over and it's a great time to get back in the craft room!

As well as sharing this weeks deals I'm also going to share a project I made to show you how to use some of the products in this weeks selection.


(sorry about blurry pic, click on image to take you to deals)

As you can see we have a selection of re-inkers and our simply pressed clay on offer. These products are really fun and easy to use, let me show you.

Take a small piece of the simply pressed clay.


The clay comes in white so simply add your re-inker to match your project. I'm using Melon Mambo as I don't have any of the colours in the weekly deals (yet!)

You will get messy! It's a good idea to wear disposable gloves and make sure you protect your work area. Once the re-inker is on your clay, work it in until you have a good even colour.


You will receive two silicone molds with the simply pressed clay enabling you to make buttons and flowers. Each mold has 3 designs and I've chosen the flowers to show you.

Press your clay into the mold


Pop your flowers out of the mold and leave to air-dry.


I added some bling  before they dried :)


And made this tag using the flowers


If you have any quetions let me know! Thanks for stopping by.

Esther xx


Followers